To help knee osteoarthritis + other knee conditions
Did you catch our recent blog post on knee osteoarthritis? It can be a real pain in the backside, preventing you from moving as much as you’d like or doing the things you love. Surgery is very much avoidable if we commit to strengthening exercises. So, to get you started, Sandra has shared her favourite knee exercises.
The important muscles to strengthen for a healthy knee are:
- Quadriceps at the front of the thigh
- Gluteus medius in the buttock that help control hip rotation and knee alignment.
- Hamstrings (back of the thigh),
- Gluteus maximus (buttocks)
- Calf muscles
- Foot muscles in the arch
SANDRA’S 8 FAVOURITE KNEE EXERCISES
- Wall squat (for quadriceps) OR
- Mini squat with band OR
- Knee extensions over a towel
- Wall stand (standing clam) for gluteus medius
- Sit to stand with slow lowering back to sit
- Step up and step down
- Single leg calf raises
- Foot doming
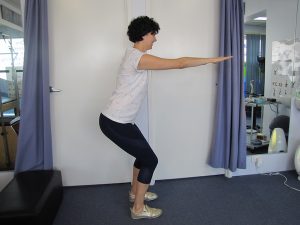
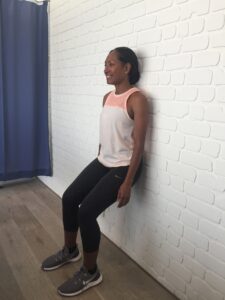 < Wall squat
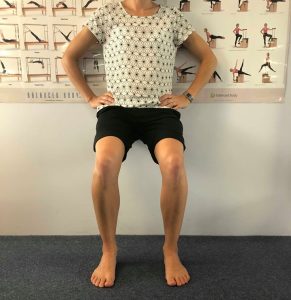
Can be done against the wall or with a ball behind your back. Feet should be about 30cm out from the wall and about 10 cm apart. Slide down to 60 degrees with your knees going over the second toe (you don’t have to go down to 90 degrees). Hold for 6-10 seconds and slide back up. If there is pain in the knee joint, you are too low. If you can’t do this one, try the knee extensions over a towel.
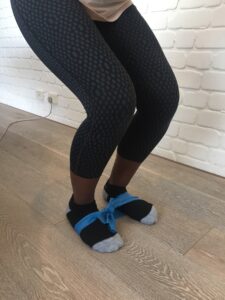 Mini squat with band >
Put an exercise band around your instep on both feet and take your feet slightly wide so that there is tension. Perform a small mini squat short of pain, keeping the knees in good alignment over the second toe.
 < Knee extensions over a towel
Place a towel or foam roller under the knee. Keep the knee on the towel and raise your foot until your knee is straight. Hold for 6-10 seconds and slowly lower.
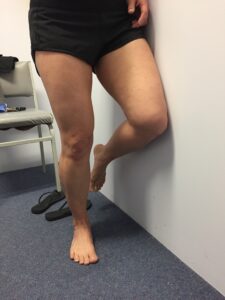 Wall stand >
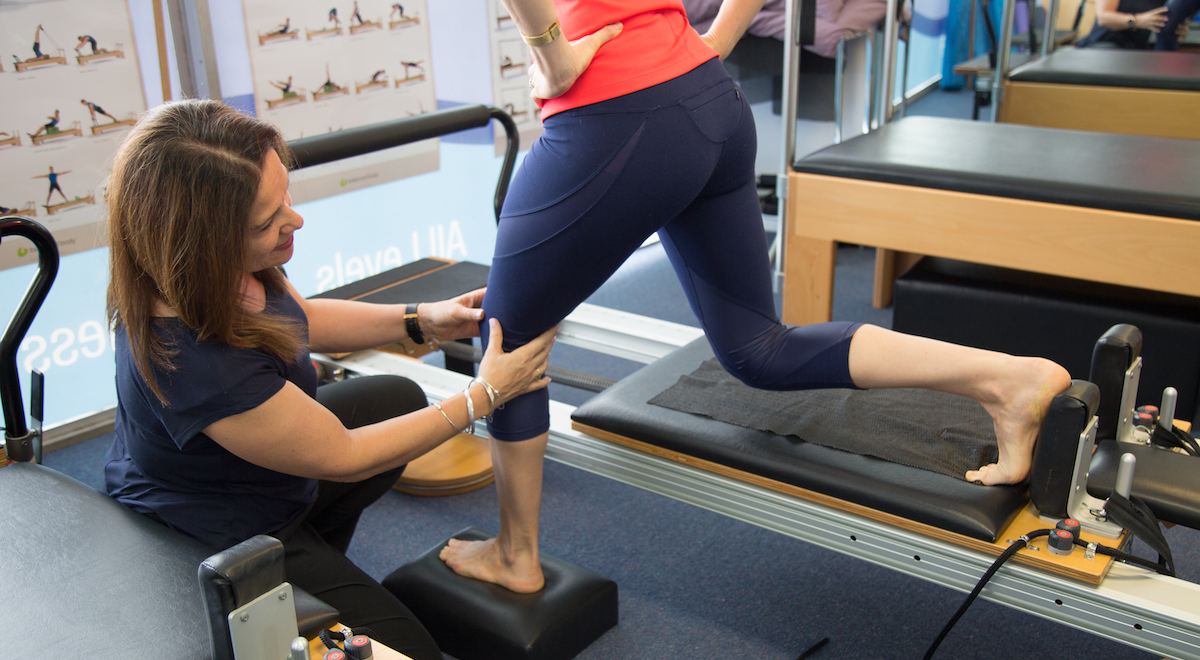
Face side on to the wall and push your knee to the wall, while taking your weight on the other leg. Hold 6 seconds. To progress, push into the wall with your knee, then lift your foot. You can place a small, soft ball between your knee and the wall. For an advanced exercise, add a bend in the supporting knee. Keep your shoulders and hips facing forward and don’t lean on the wall.
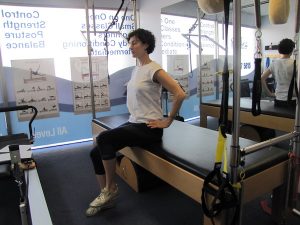
Sit to stand
Choose a higher chair for beginners. Sit and then slowly stand, making sure your knee goes over the second toe and doesn’t sway inward. Lower slowly and you can pause just before your bottom goes onto the seat. To progress, try doing it one legged, but your knee must remain in good alignment over the second toe. You can also try it on a lower chair for an additional challenge.
^ Step up and step down
Choose a small step to begin and slowly step up and lower (knee over second toe)
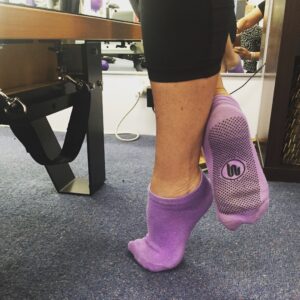 Calf raises >
Beginners start with 2 legs – go up for 3 seconds, hold, then lower for 3 seconds. Progress to single leg and increase the number gradually. You should aim for 25-30 single leg calf raises. Avoid very hard surfaces like the tiles in the bathroom. Don’t rock forward as you raise up.
 < Foot doming
This can be done standing or sitting. Put your foot flat on the ground and then lift your arch, keeping your toes down straight.
Things to note:
All exercises should be done in a slow, controlled manner; don’t build up momentum, rock forward, turn your body.
Keep the knee in good alignment – if the knee swings inwards, the exercise needs to be modified.
Keep the head and neck in good alignment too!
During the wall stand and wall squat, make sure the arch of your foot does not collapse inwards – lift your arch.
If you’d like one of our physiotherapists to help you with some personalised knee exercises, please call or book online.
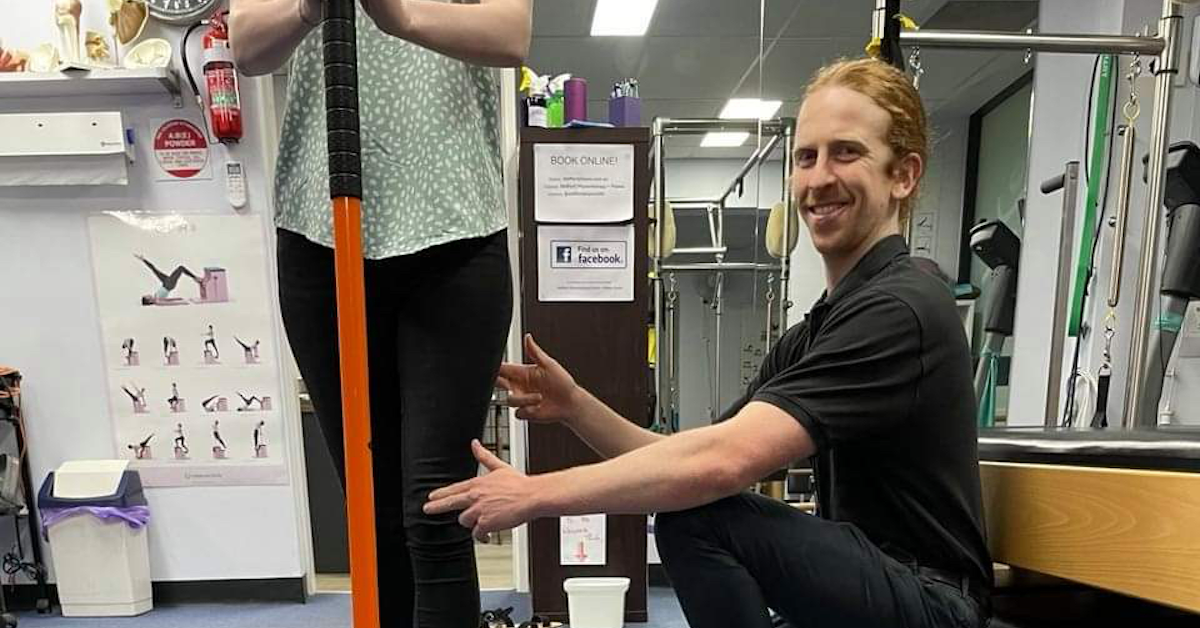
 Juhi, Matt and Sandra recently undertook the GLA:D® – “Good Life with osteoArthritis: Denmark” course and are now certified GLA:D® physiotherapists. We will soon be launching our in-house GLA:D® Program – a 6 week program of education and exercise designed to help reduce the symptoms of hip and/or knee osteoarthritis. Over the 6 weeks patients will attend 2 education sessions and 12 supervised exercise sessions, each of about 60 minutes.

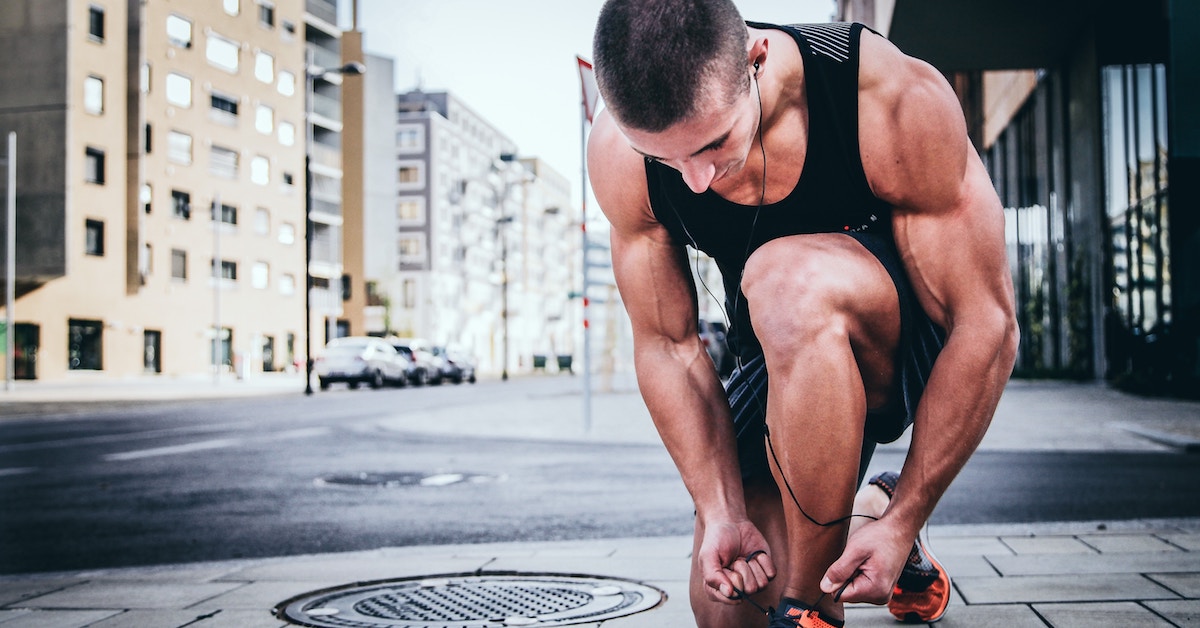
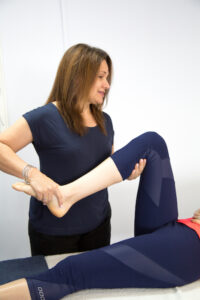
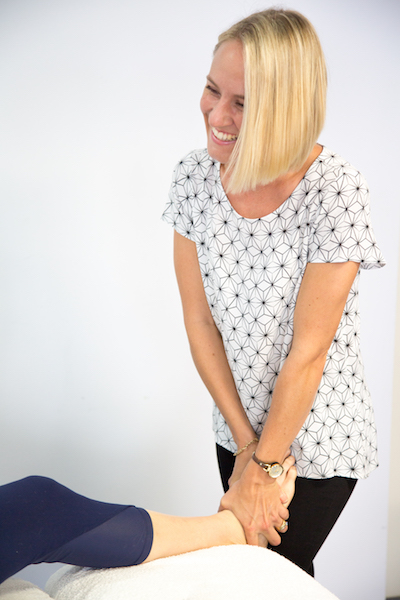
 Treatment of Runner’s Knee can involve:
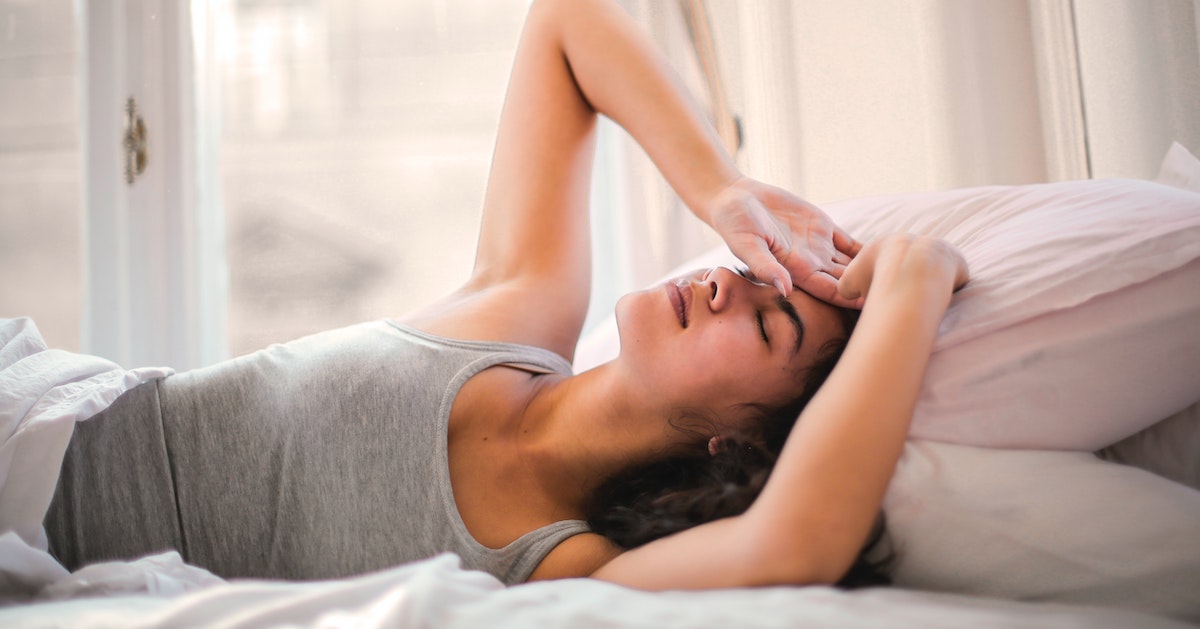
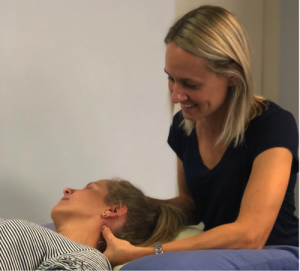 If you suffer from headaches or migraines, you’re certainly not alone. It is estimated that 1 in 20 people do! In many cases, the pain in the head actually stems from issues with the upper spine and neck. This is why around 80% of people are able to get headache relief through physiotherapy treatment.
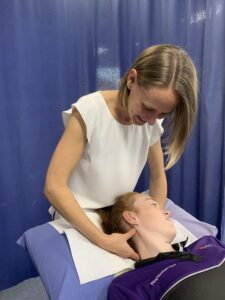
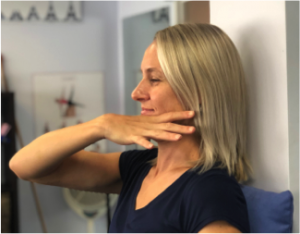 We can help prescribe some appropriate at-home exercises to help. This simple exercise that can help relieve a headache.
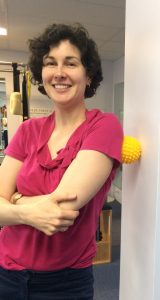 One of the best ways to maximise the benefits of
 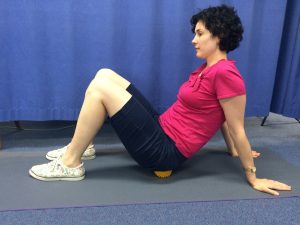 To begin with you can lean your body against the ball on the floor or wall and use your body weight to apply pressure. To progress you can roll against the ball for 1-2 minutes. Check out this handy cheat sheet featuring
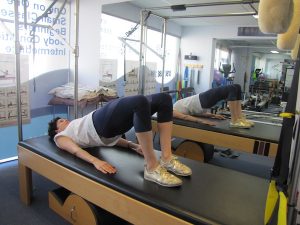 Bridging
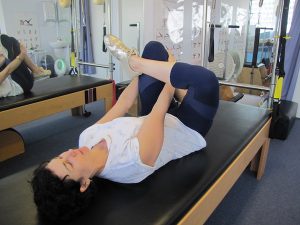
 Mini squats