
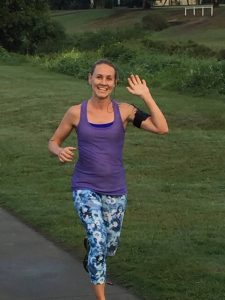
Returning to running after pregnancy
When is it safe to return to running after pregnancy? You ran before you got pregnant. You might have continued running during pregnancy. And now you’ve had the baby and you’re keen to get your joggers back on and hit the pavement once again. So when is it safe to do so?
There is a general lack of evidence-based research around returning to running in the postnatal period. Running is a high impact activity which places a significant load on the entire body, especially the pelvic floor muscles. The most recent guidelines* are from 2019 and suggest waiting a minimum 12 weeks after birth. The guidelines also suggest that women meet a series of criteria for adequate strength of the pelvic floor and lower body muscles before hitting the pavement again.
The first 12 weeks after birth is commonly referred to as the 4th trimester. There is still a large amount of relaxin in your body, which means the connective tissue, such as ligaments, is still more stretchy than normal. Your body is still recovering from birth during this period, especially if you had perineal tears, episiotomies, a caesarian section or any other complications. The pelvic floor muscles are weak after pregnancy and birth and you may have symptoms that indicate these muscles need strengthening.
Symptoms of pelvic floor weakness can include:
- Incontinence – leaking, inability to control bladder and/or bowel
- Heaviness in the vagina
- Dragging sensation in the vagina and perineal region
- Pelvic pain
There is strong evidence to support an individualised assessment and structured exercise program for pelvic floor rehabilitation in the management of these conditions. Sandra is qualified to undertake pelvic floor assessments and can refer you to a specialised pelvic floor physiotherapist if needed.
It is also important to be assessed by a physiotherapist if you had a rectus diastasis (abdominal muscle separation). Our physiotherapists can screen for this.
Low impact exercise such as walking is encouraged in the first 3 months (12 weeks) of the postnatal period. Following this a graded return to a running program should be implemented to build lower limb strength and gradually introduce loading again to the pelvic floor muscles.
Call us today to get started!
* Reference: Returning to Running Postnatal – guidelines for medial, health and fitness professionals managing this population. Tom Goom, Grainne Donnelly and Emma Brockwell. March 2019
If you’d like one of our physiotherapists to help you get running again post-pregnancy, please call or book online.
This post was written by Lucy Beumer, Sports and Exercise Physiotherapist and Clinical Pilates Instructor at Stafford Physiotherapy and Pilates.

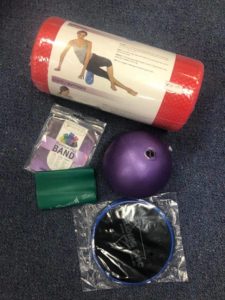 Do you want to exercise at home and need some equipment? We have full (long) rollers, short rollers, exercise balls, chi balls, sliders, exercise resistance bands (plus handles if needed), hand stress balls and exercise DVDs. We sell these!
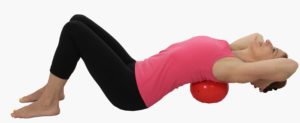


 Glutes
 Quadriceps
 Iliotibial band
 Pecs along the roller
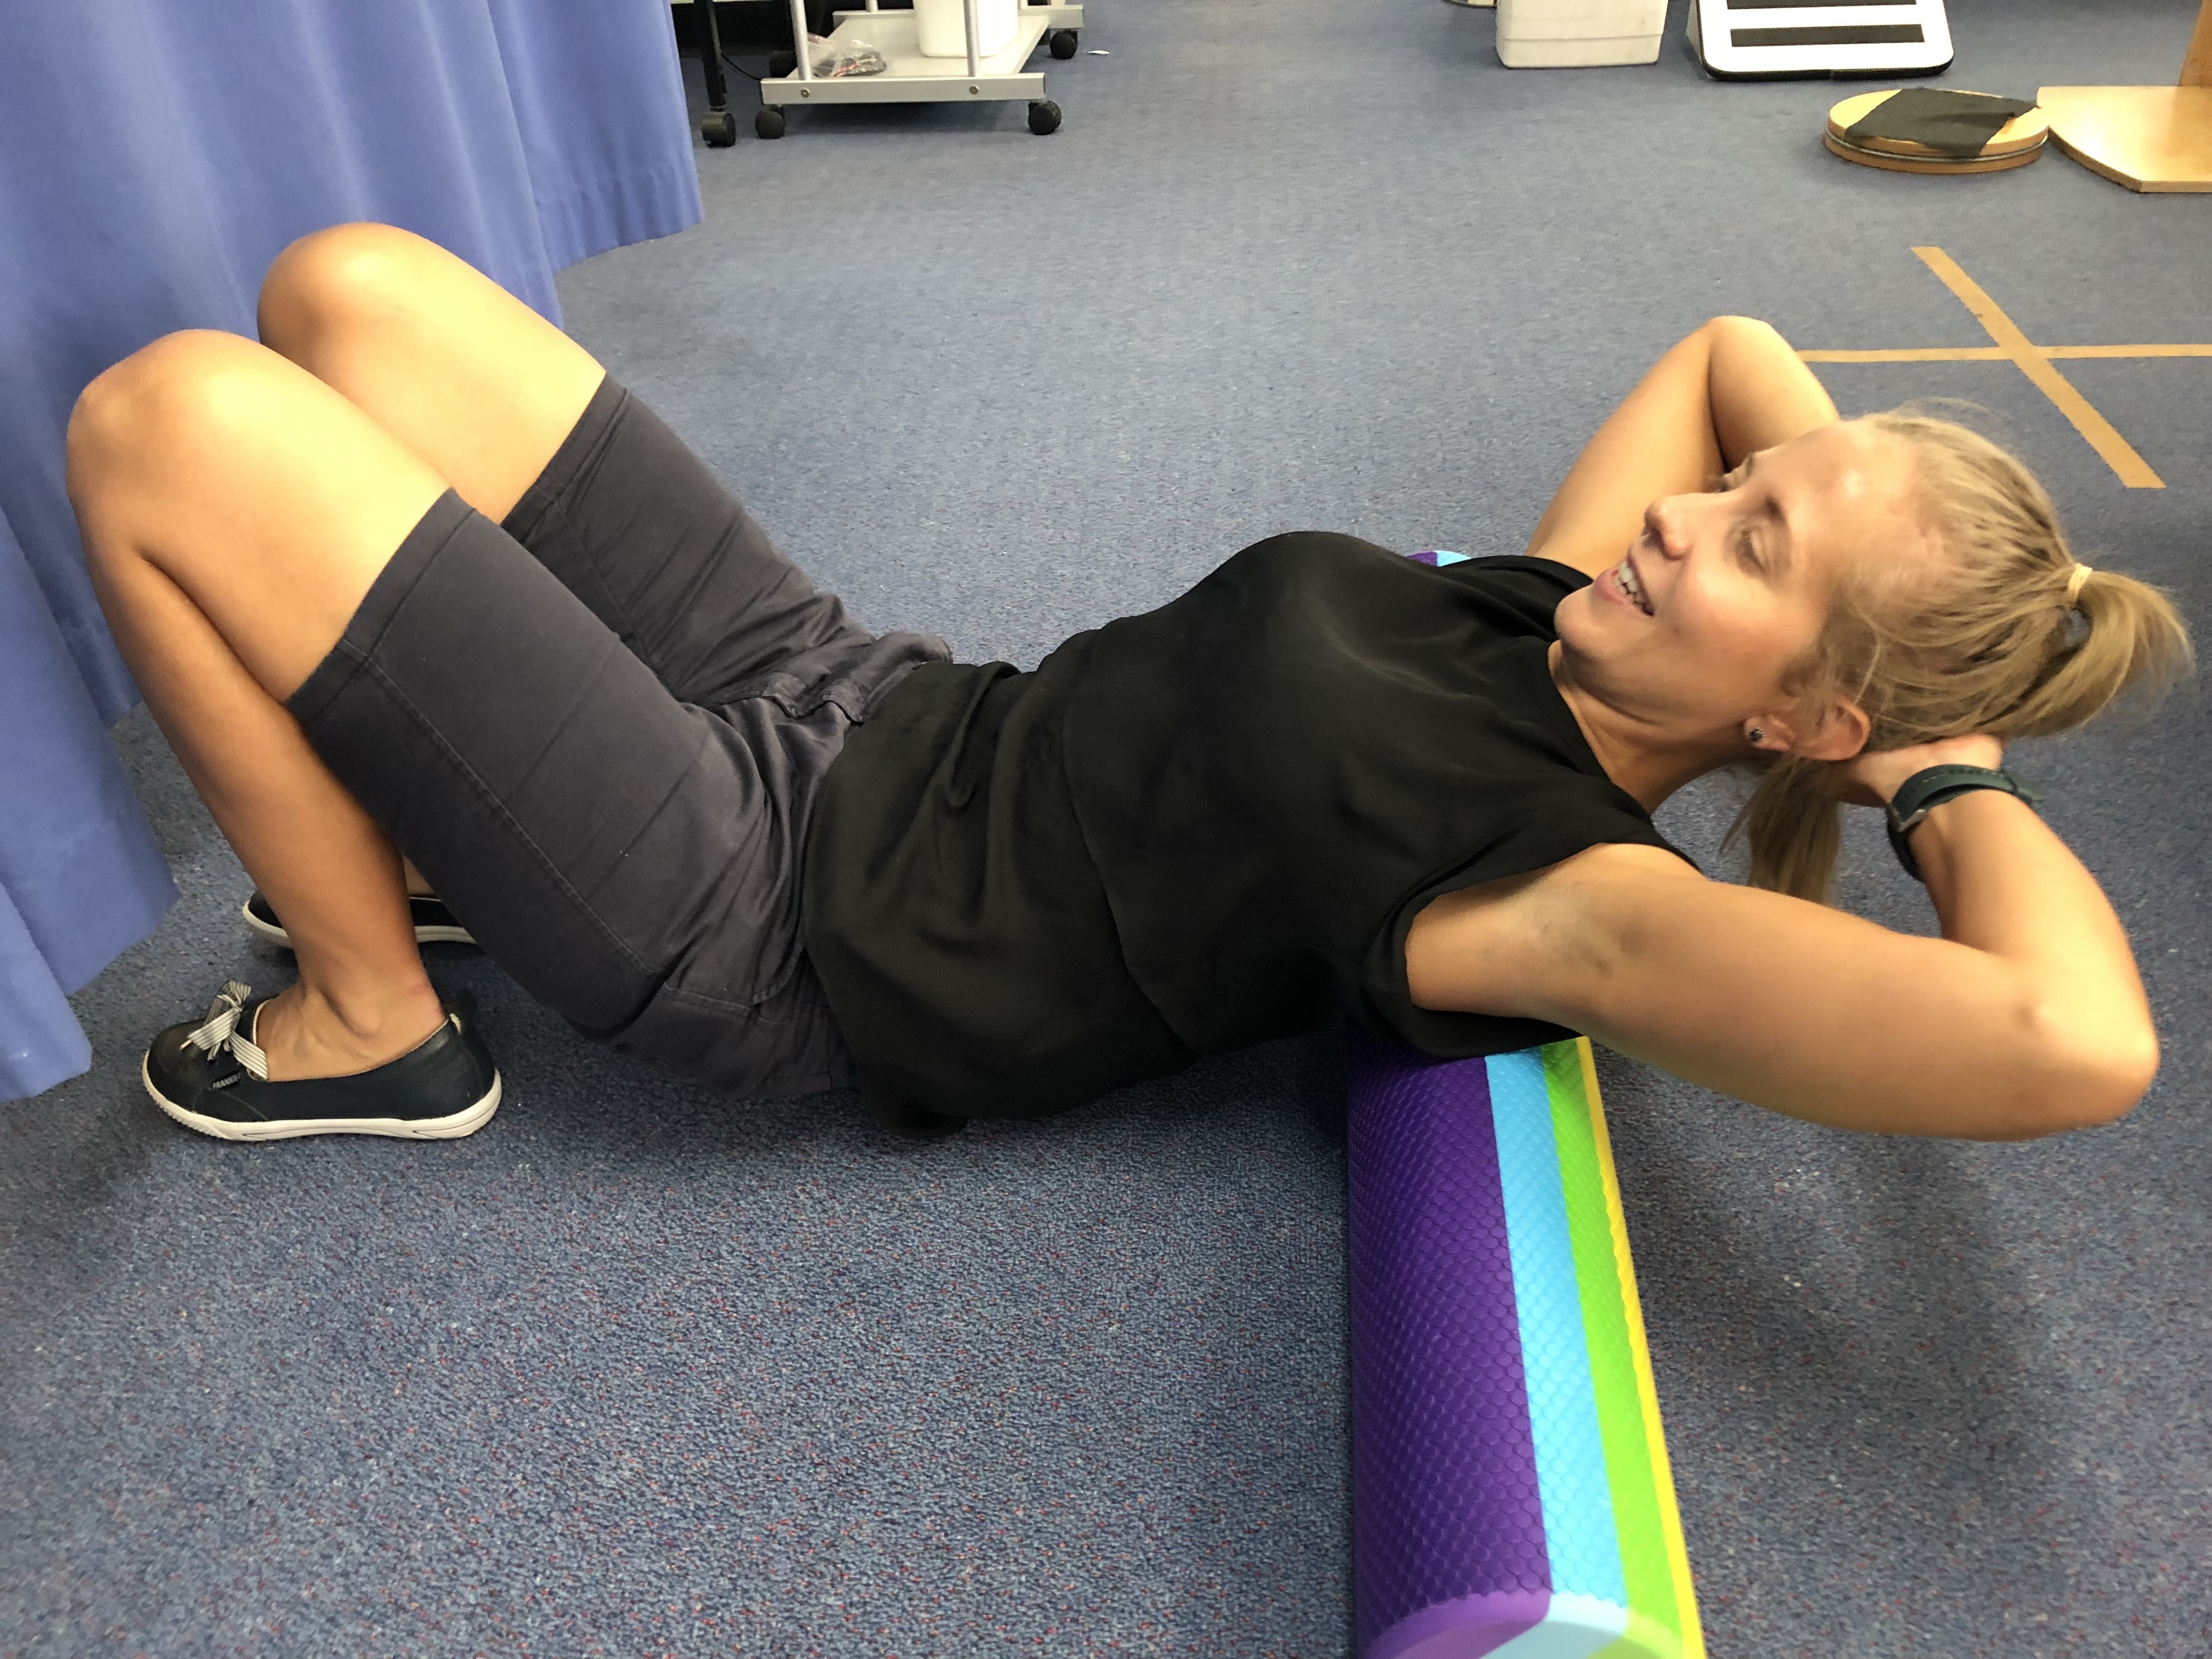
 Thoracic spine extension


 6. Include strength and core stability training
 7. Get enough sleep
 Treatment of Runner’s Knee can involve:
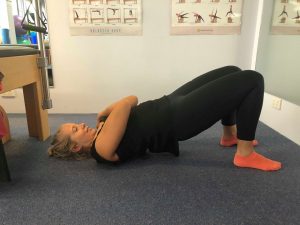 BRIDGE HOLDS
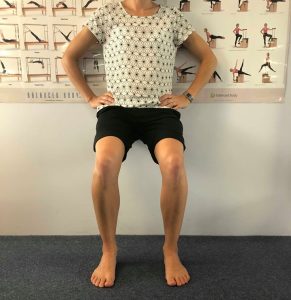
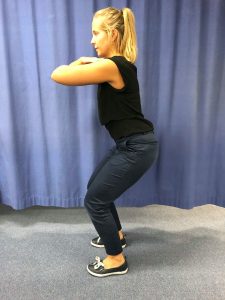 SQUATS
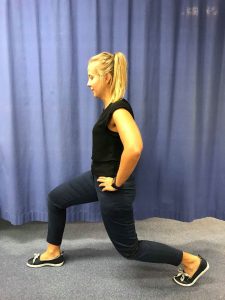 LUNGES
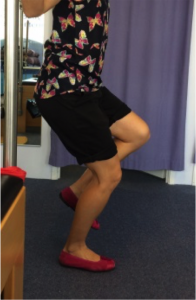
 WARM UP SHOULD INCLUDE:
 THE MAJORITY OF INJURIES IN CONTACT SPORTS INVOLVE CORKS AND STRAINS TO THE LOWER LIMBS.
 R – REFERRAL. It may be appropriate to see a health care professional such as a physiotherapist. It’s important to get an accurate diagnosis, treatment and rehabilitation to get back on the field as soon as possible.