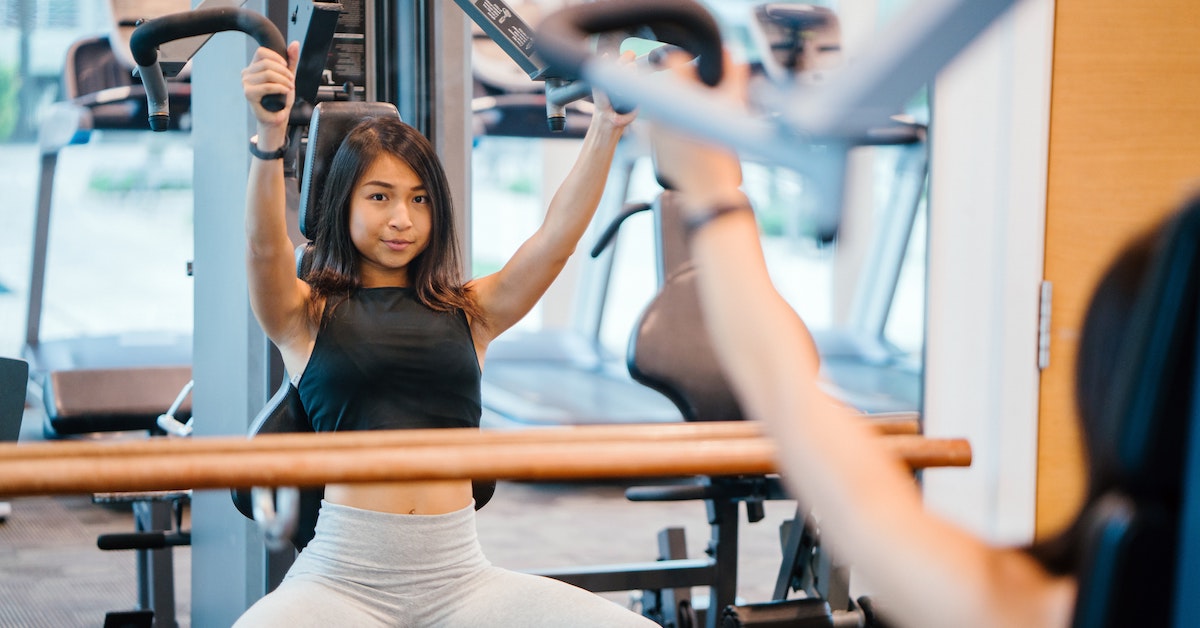
Top 5 Exercises To Keep Your Shoulder Healthy
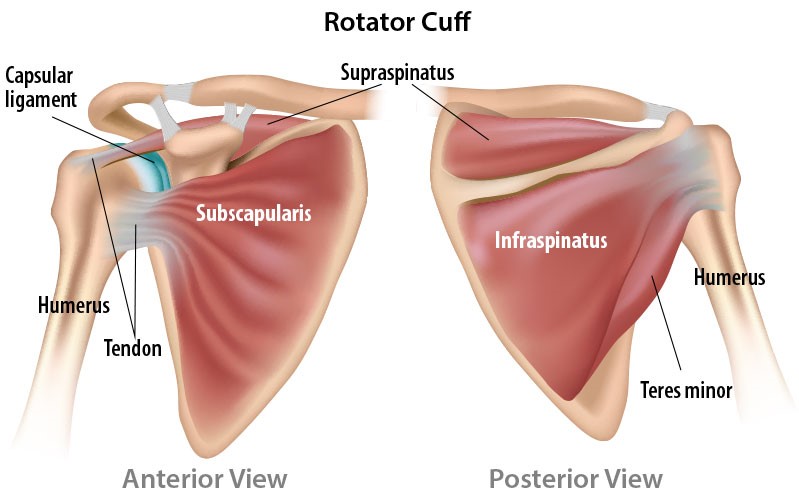
In the shoulder, the higher the mobility, the lower the stability. However, this theory is not applied on a healthy shoulder. The shoulder is a complex joint that allows the arm moving in a circular motion, also, the joint has four muscles formed as a group called the rotator cuff muscles, which work in a balanced way to stabilise our shoulder.
The rotator cuff muscles
Let’s figure out the locations and the primary functions.
Refer to the diagram below, the rotator cuff muscles include the Supraspinatus (initiates the abduction), Infraspinatus (with the action of external rotation), Teres minor (helping the action of external rotation) and Subscapularis (with the action of internal rotation).
The rotator cuff muscles are important to us.
How can we protect it?
There are few tips to keep the shoulder healthy.
1. Keep a good posture
Chest open, engage core muscles by elongating the spine. Avoid ‘poking out the chin’ and ‘rounded shoulders’, so that the rotator cuff muscles work with proper biomechanics.
2. Avoid repetitive and heavy overhead activities
These are the predisposing factors to develop the rotator cuff tears or tendinopathy (previously known as tendinitis).
3. Regular exercises
Strengthening can prevent rotator cuff tendinopathy or impingement syndrome with age or degenerative changes.
4. Consultation
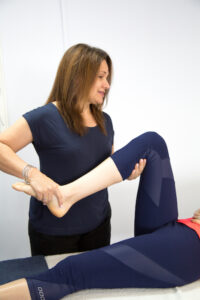
If you have any shoulder pain, stiffness or weakness, always seek the guidance of your physiotherapist. We can refer on if we think you need investigations or a medical consultation.
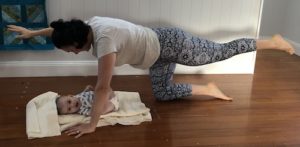
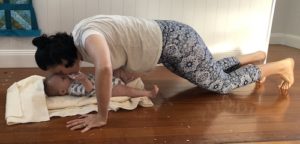
Top 5 Exercises for Healthy Shoulders
Here are some of the shoulder exercises which can train our shoulder stay strong and healthy. If any of these give you pain, see your physiotherapists for some easier exercises.
1. Wall Angels
Good to warm up your shoulder. Do it slowly and with control.
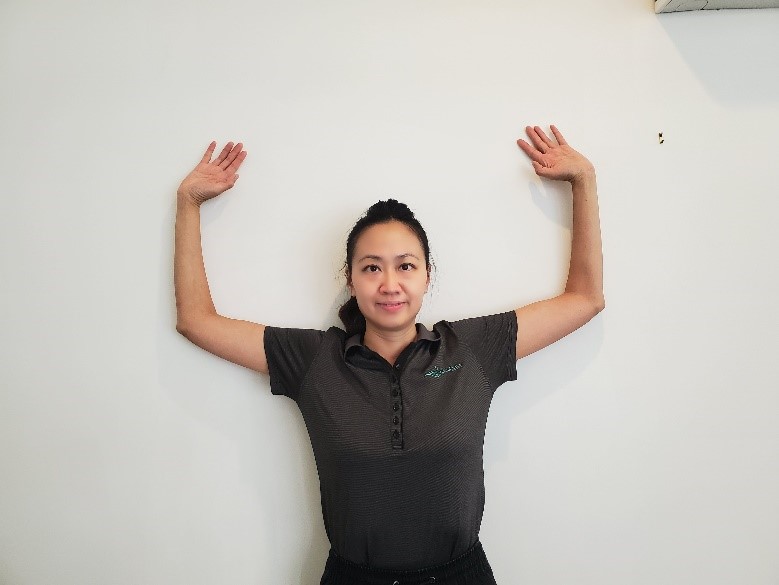
Start standing with shoulders and head touching the wall.
Draw the shoulder blade inward and downward.
Bend your elbow. Keep the forearm touching the wall.
Bring your arms up as high as you can get them, then return and repeat.
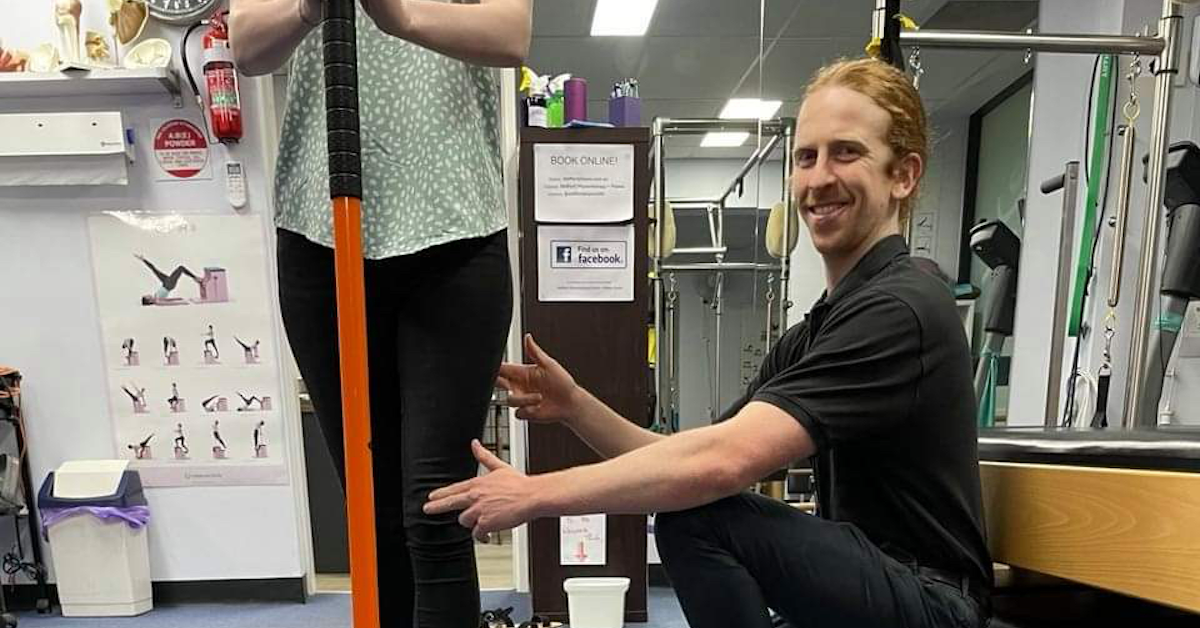
2 Scapular Retraction – putting arms in position ‘L’, ‘M’, ‘Y’, ‘T’
Improve the upper back and shoulder blade muscles strength. Too easy? Add some light weights!
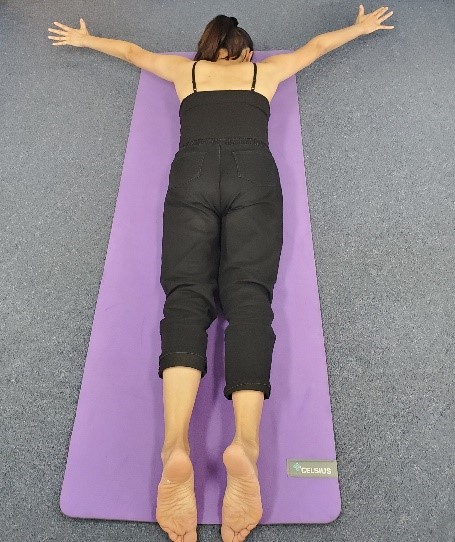
Lie on your front with your forehead rested on a small towel.
Move your arms out to your sides then bend your UL in ‘L’, ‘M’, ‘Y’, or ‘T’
Keeping your chest and head in contact with the floor throughout, squeeze your shoulder blades together, and then arms off the floor.
Hold this position for 5 seconds. Relax and repeat.
3 Shoulder Elevation with Thera band
Shoulder elevation with shoulder stabilization.
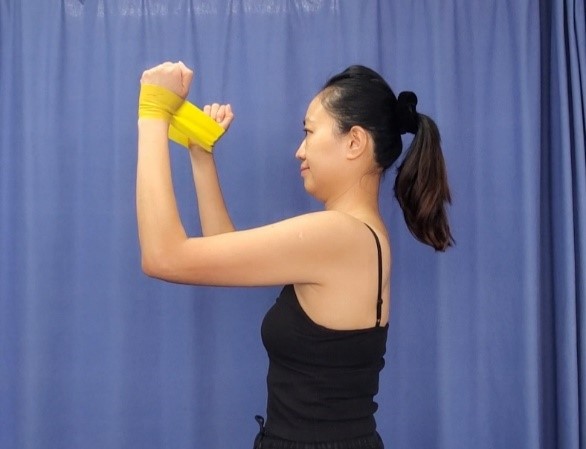
Stand up straight facing a wall.
Loop a resistance band around both of your wrists.
Keeping this control with your shoulder blades, brings the arm up and down.
4 Gym Ball Wall Bounces
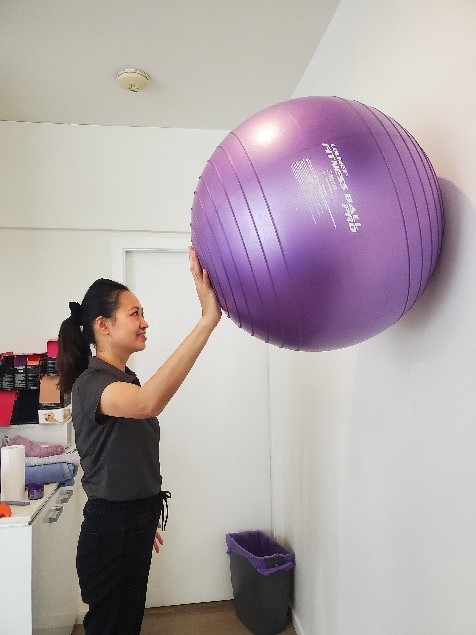
Raise the gym ball to shoulder height in one hand.
When ready, bounce the ball against the wall whilst keeping your elbow at shoulder height.
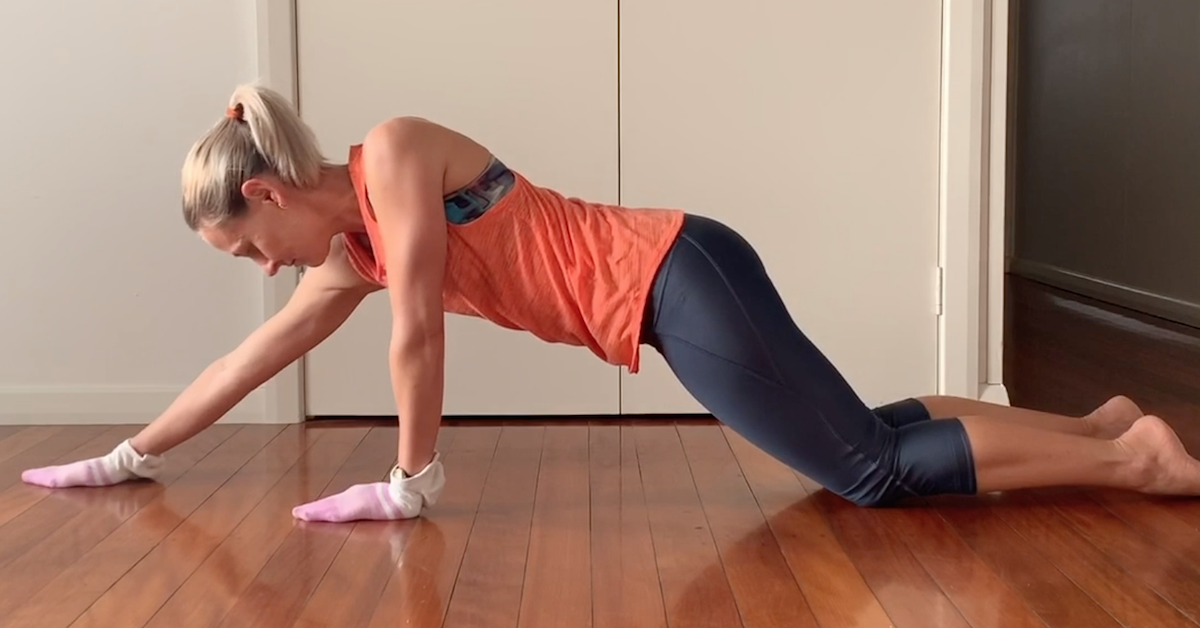
5 Arm Lift on Foam Roller
Arm strengthening exercise with cores muscle engagement.
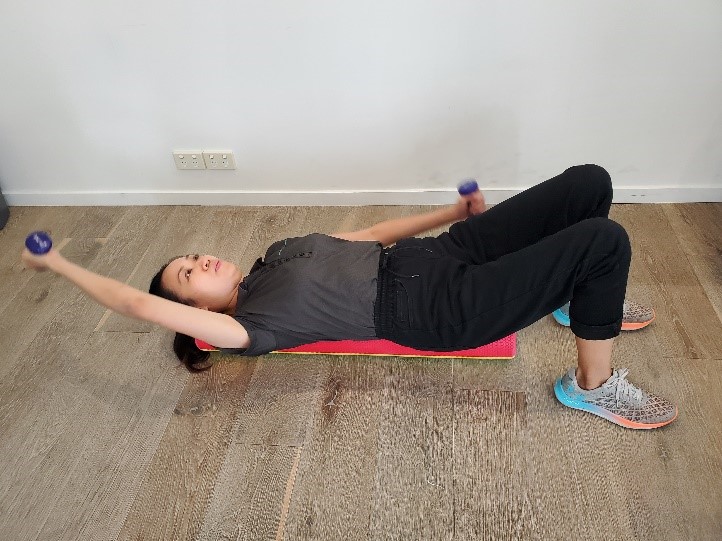
Lie on top of a foam roller supporting head and buttock, draw shoulder blade inward and downward, flatten the lower back, feet on the floor.
Hold a pair of dumbbell and lift arms up and down.


 Juhi, Matt and Sandra recently undertook the GLA:D® – “Good Life with osteoArthritis: Denmark” course and are now certified GLA:D® physiotherapists. We will soon be launching our in-house
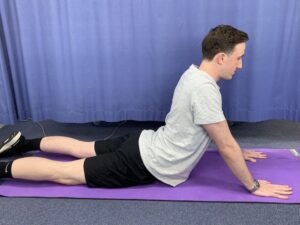 1. Cobra pose
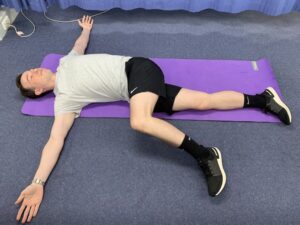 2. Archer stretch
 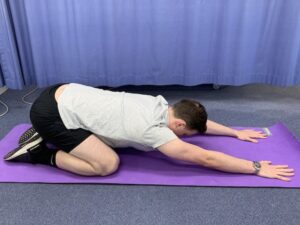 3. Child’s pose
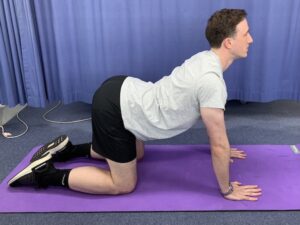
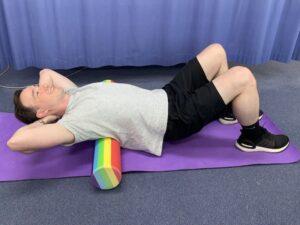 5. Roller Thoracic extension
 6. Thoracic rotation with stick
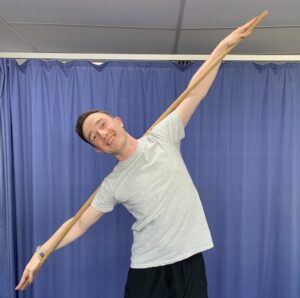 7. Thoracic side bends with stick
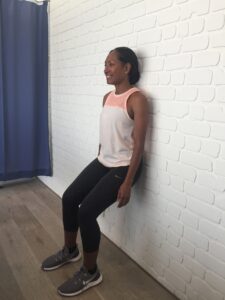 < Wall squat
 Mini squat with band >
 < Knee extensions over a towel
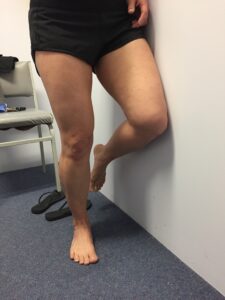 Wall stand >
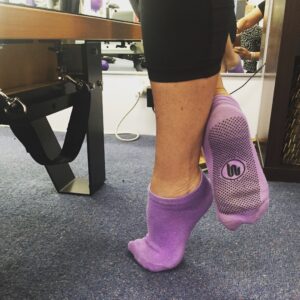 Calf raises >
 < Foot doming
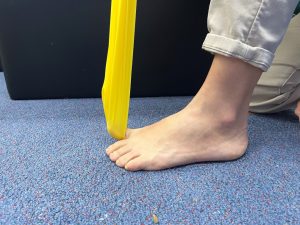
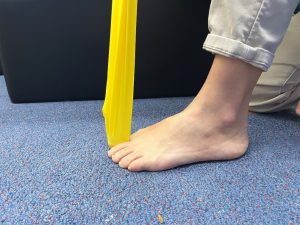
 Squats
 Tabletop Legs